Second Disy Hackathon
Last year’s hackathon was a great success, so we did it again this year. In preparation developers, consultants, and project management gathered ideas in a Wiki page and formed teams around them. Just like last year, the energy was palpable and already in the days before you could spot some of the teams discussing and planning, laying out their battle plan to woo jury and audience.
When Thursday morning finally came, everybody was well prepared and went to work immediately. Here’s what they achieved in the two days they had.
OSM routing in Cadenza
How to get from one point to another in a given scenario is a common use case in many of our customers’ domains. Routing or navigation are fundamental tools to deal with such tasks. Challenges are the speed of calculation, quality of the results, and adaptability to different kinds of vehicles.
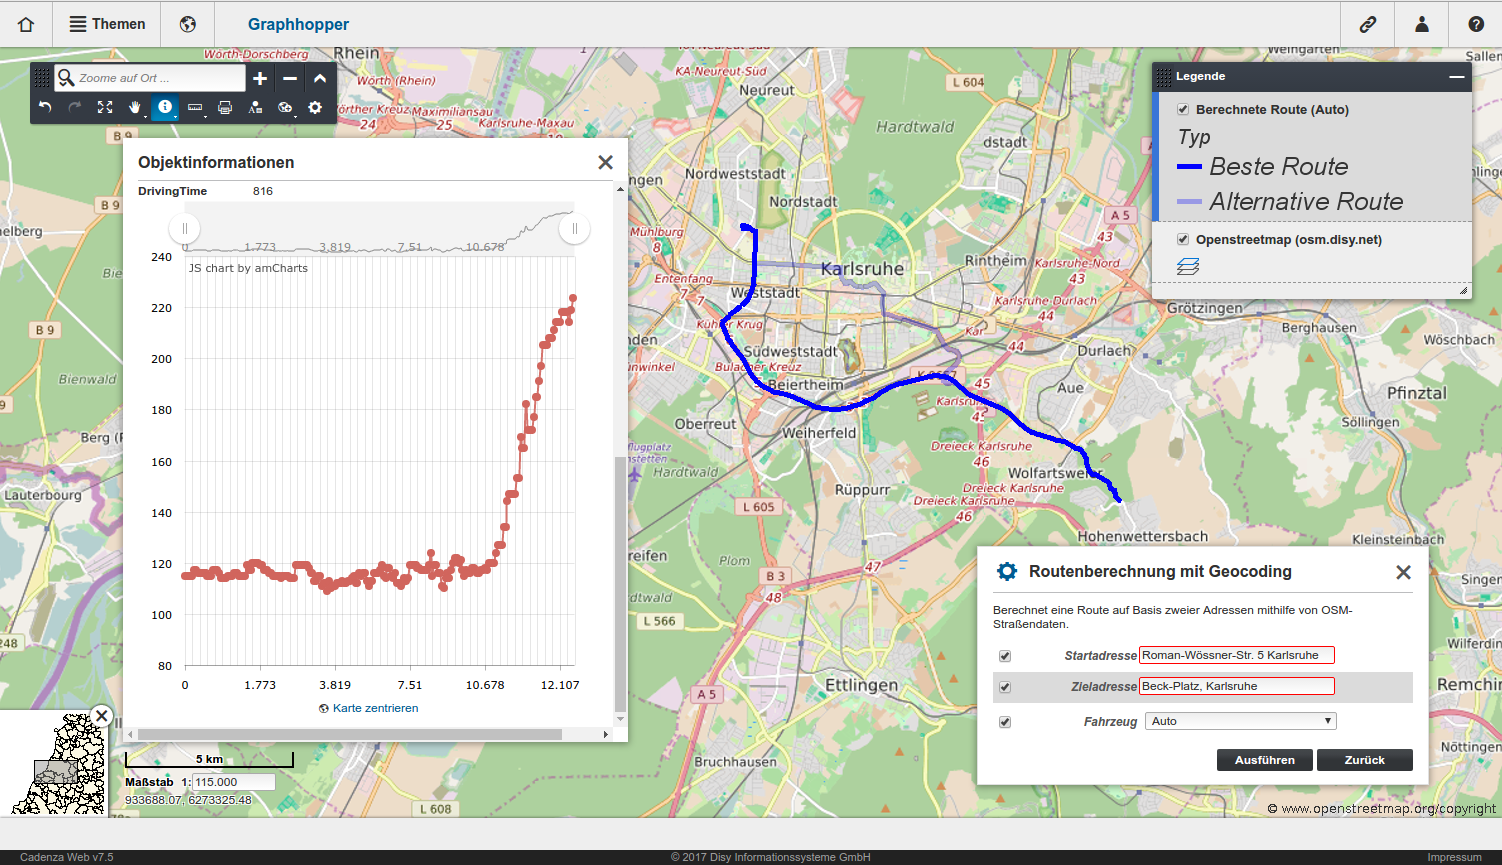
OpenStreetMap (OSM), as a free-to-use and rich source of various routing-relevant information, is the perfect foundation to build on. For Cadenza, as a Java based application, we incorporated the open source library Graphhopper. It provides various algorithms, such as Dijkstra and A*, for path finding in graphs, calculation of isochrones, and even using different routing profiles.
During the two days we have reached the breakthrough in making Graphhopper routing available in Cadenza. You can now either choose a starting and end point or resolve these points using the Disy Geocoding Service. Additionally, elevation profiles and alternative routes are visualized in Cadenza.
Big Data with Talend
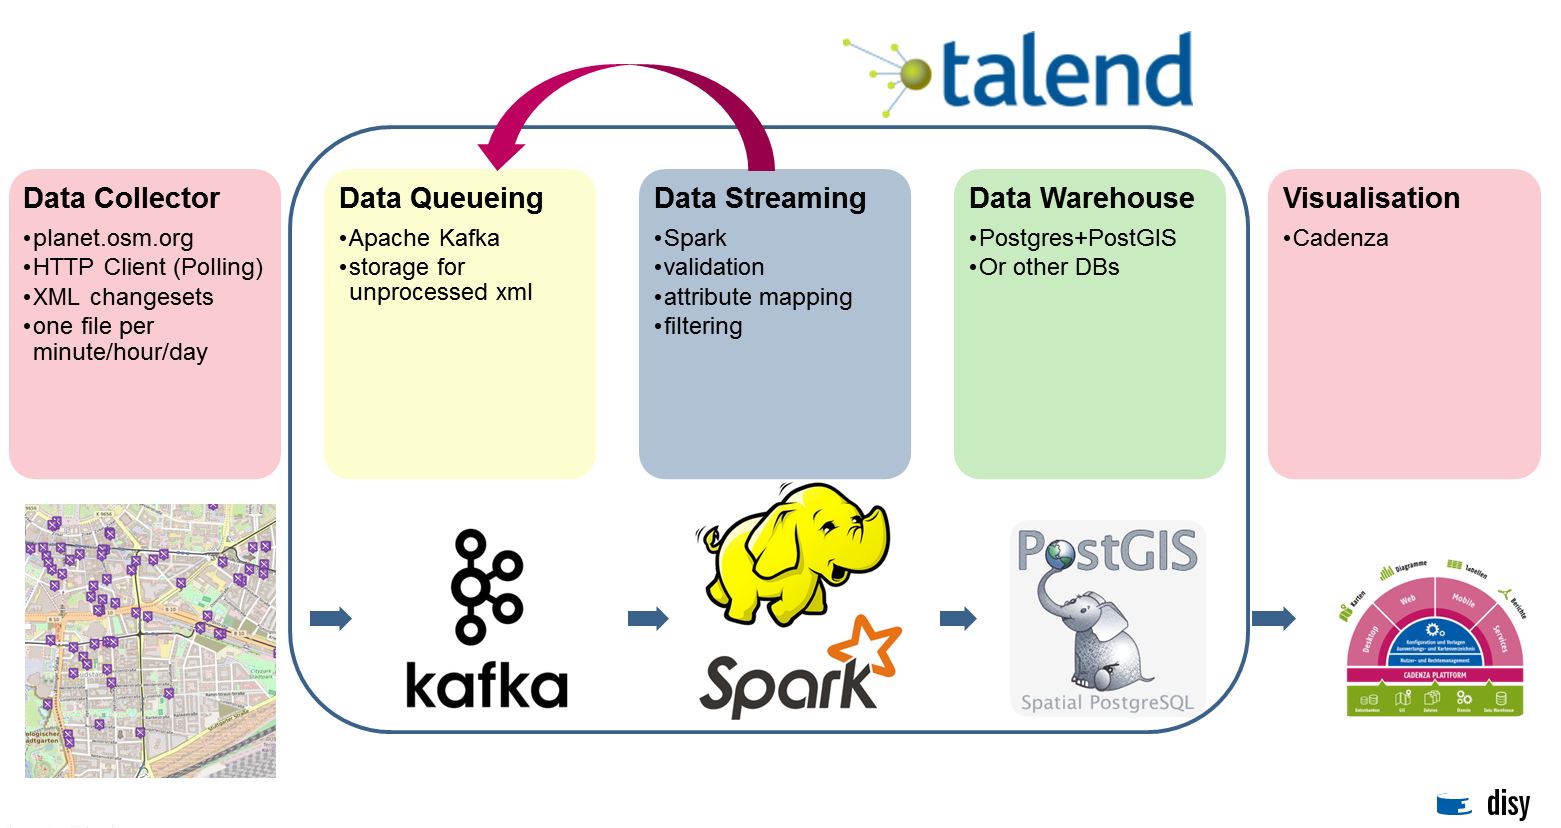
Our main focus was to process real-time data with spatial components. Within the scope of the OSM project, spatial data and attached attributes are recorded, changed or deleted worldwide. These changes are made available as minutely, hourly or daily XML files. To process them we used the Talend Big Data Platform and the GeoSpatial Integration Plugin for Talend (PDF) developed by Disy.
In a first step, we collect the minute-based changeset, which we hand over to Kafka as binary data, where a Spark job extracts and transforms it. As an example, we filtered all new or changed restaurants from the given data. After that we hand the data over to a second Kafka Topic, which processes the data, for example to load it into a data warehouse.
During this step we used the Disy Geospatial Integration to create geometries like points, lines or polygons from the given coordinates and load them into a PostGIS Database. To visualize the points of interests we used Cadenza.
Supply-chain management
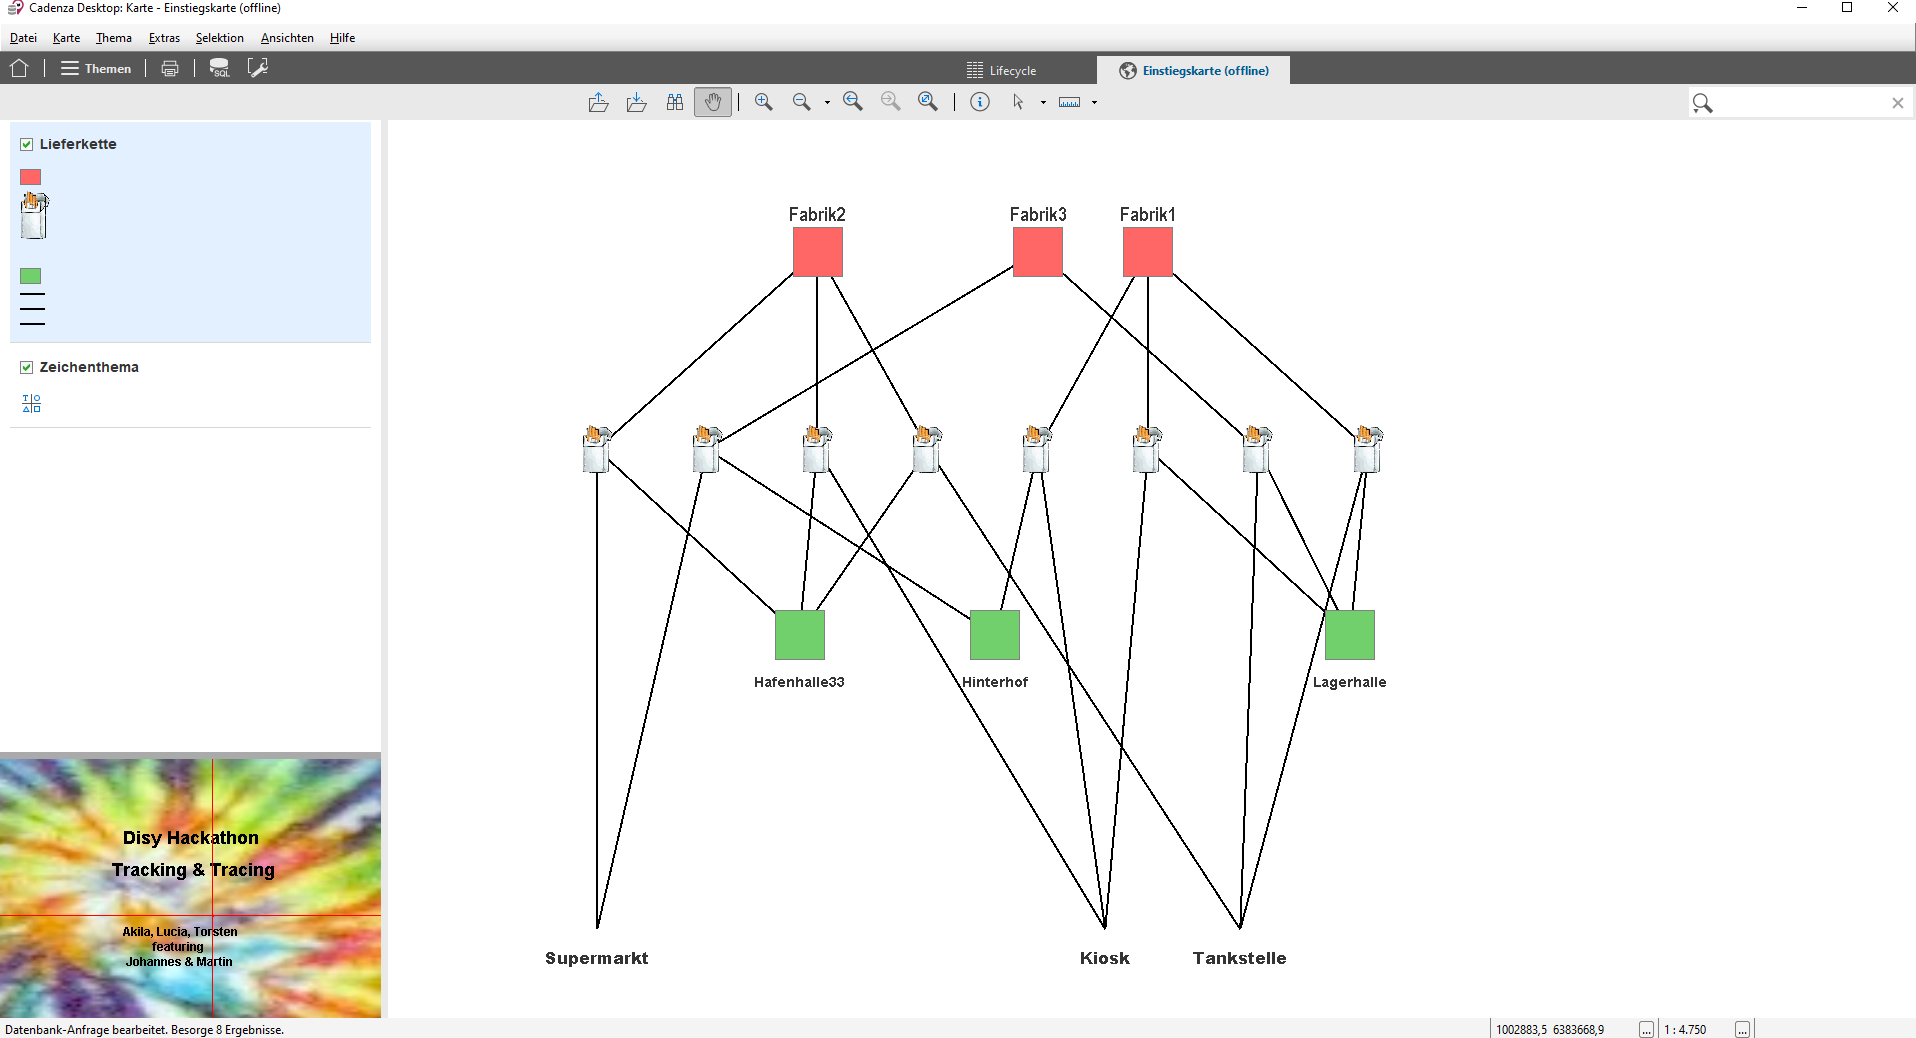
The Cadenza platform allows the development of custom applications and we created one for Supply-Chain Management using the example of cigarette manufacturing. The hack involved creating an Oracle database structure to store the elements of the supply-chain including Factories (“Fabrik”), Products (“Produkt”), Storage Warehouses (“Lager”) and Retail stores (“Laden”). This information was dynamically accessed by Cadenza. We used the third-party library yFiles for Java to layout the supply chain and update the position of the elements directly in the database. Cadenza then uses its map component to display the supply-chain as an organized diagram.
Web Components
For this hackaton our team of 5 decided to gain some practical experience with a new technology stack. We’ve been evaluating a new stack of basic technologies for our frontend development over the last months. We were evaluating technologies with the following criteria in mind:
- modern, scalable, fast and maintainable
- no heavyweight dependencies or vendor lock-in
- compatible with Cadenza‘s evolutionary development philosophy
- allows for gradual migration
- not just the flavor du-jour
And it had to be really cool.
We have arrived at a foundation of ES6, Webpack for tooling and Web Components as a basic UI paradigm for developing new features. Web Components is an umbrella name for a few specific standards: Custom Elements, Shadow DOM, HTML Imports and HTML Templates. We decided to focus only on Custom Elements and Shadow DOM since the other standards are poorly supported by browsers.
With custom elements we have a way of defining new GUI elements that are natively supported by (almost) all relevant (to us) browsers. A custom element could be declared like this:
<d-navigator>
    <d-data json>{some: "json", data: "to use"}</d-data>
</d-navigator>
This is the rough API of a navigation component that we ported from vanilla JS + JQuery to a custom element. The implementation lives in its own JS file (d-navigator.js) with a dedicated style definition (d-navigator.css). In our case we opted to use ES6, so the implementation can use ES6 features like classes.
In Javascript you can now register your implementation of that custom element like so:
customElements.define('d-navigator', class extends HTMLElement {

  constructor() {
      super()
      this.attachShadow({ mode: 'open' })
  }

  // etc ...

})
The statement with this.attachShadow enables the shadow DOM for this element. All the HTML and the styles of this element (its DOM so to say), will be encapsulated and isolated from the rest of the page. CSS inside the custom element can only reference elements inside the shadow DOM. From the other side this means that you can no longer (easily, or accidentally) overwrite or destroy styles and elements inside of shadow DOM components.
By using the open source Skate JS framework we get some added benefits like JSX for HTML templating, performant rendering with virtual DOM and some sugar to make working with custom elements, properties and custom events nicer.
What we wanted to achieve in the hackathon was to gain familiarity with the technology and to try to port 3 of our existing GUI components over to custom elements. We tackled the navigation tree of our application, the charts component and the toolbar buttons and menus.
The navigation tree was interesting because it is basically already a thin wrapper around a JQuery plugin called jstree. We found that since this plugin is well behaved and does not perform document selectors on the complete page, it was embeddable within shadow DOM. This can be a problem when combining jquery code with shadow DOM, as described by Rob Dodson.
Our charting component was again especially interesting as we use the AmCharts commercial library which is completely out of our control. It turned out that this too was well-behaved and let itself be nicely rendered by a custom element with shadow DOM enabled.
Finally, we decided to tackle one of the smallest, but frequently used components in our GUI: toolbar buttons with dropdown menus. Here the hope was that the custom element could encapsulate the complete Button rendering and event handling behavior as well as the positioning of the dropdown (or popup!) menu depending on the location of the button versus the viewport. After some struggling with custom element and Skate JS specifics, we managed to get this to work as well.
The conclusion of the team after this hackathon was that custom elements are usable - they work surprisingly well and with a great variety of third party components and they can be a basis for our future UI roadmap. We also recognized the need to develop best practices with the usage of ES6, as well as custom elements and shadow DOM. And finally, the most important insight: we have to carefully consider what will actually become a component on a page, and what will stay standard html and javascript to glue everything together. On this issue too, Rob Dodson has written some insightful words in the post we already linked above.
Intelligent file diffs
Software testing just got easier with our new Simple Testing Tool for Automatic File Diffs™!
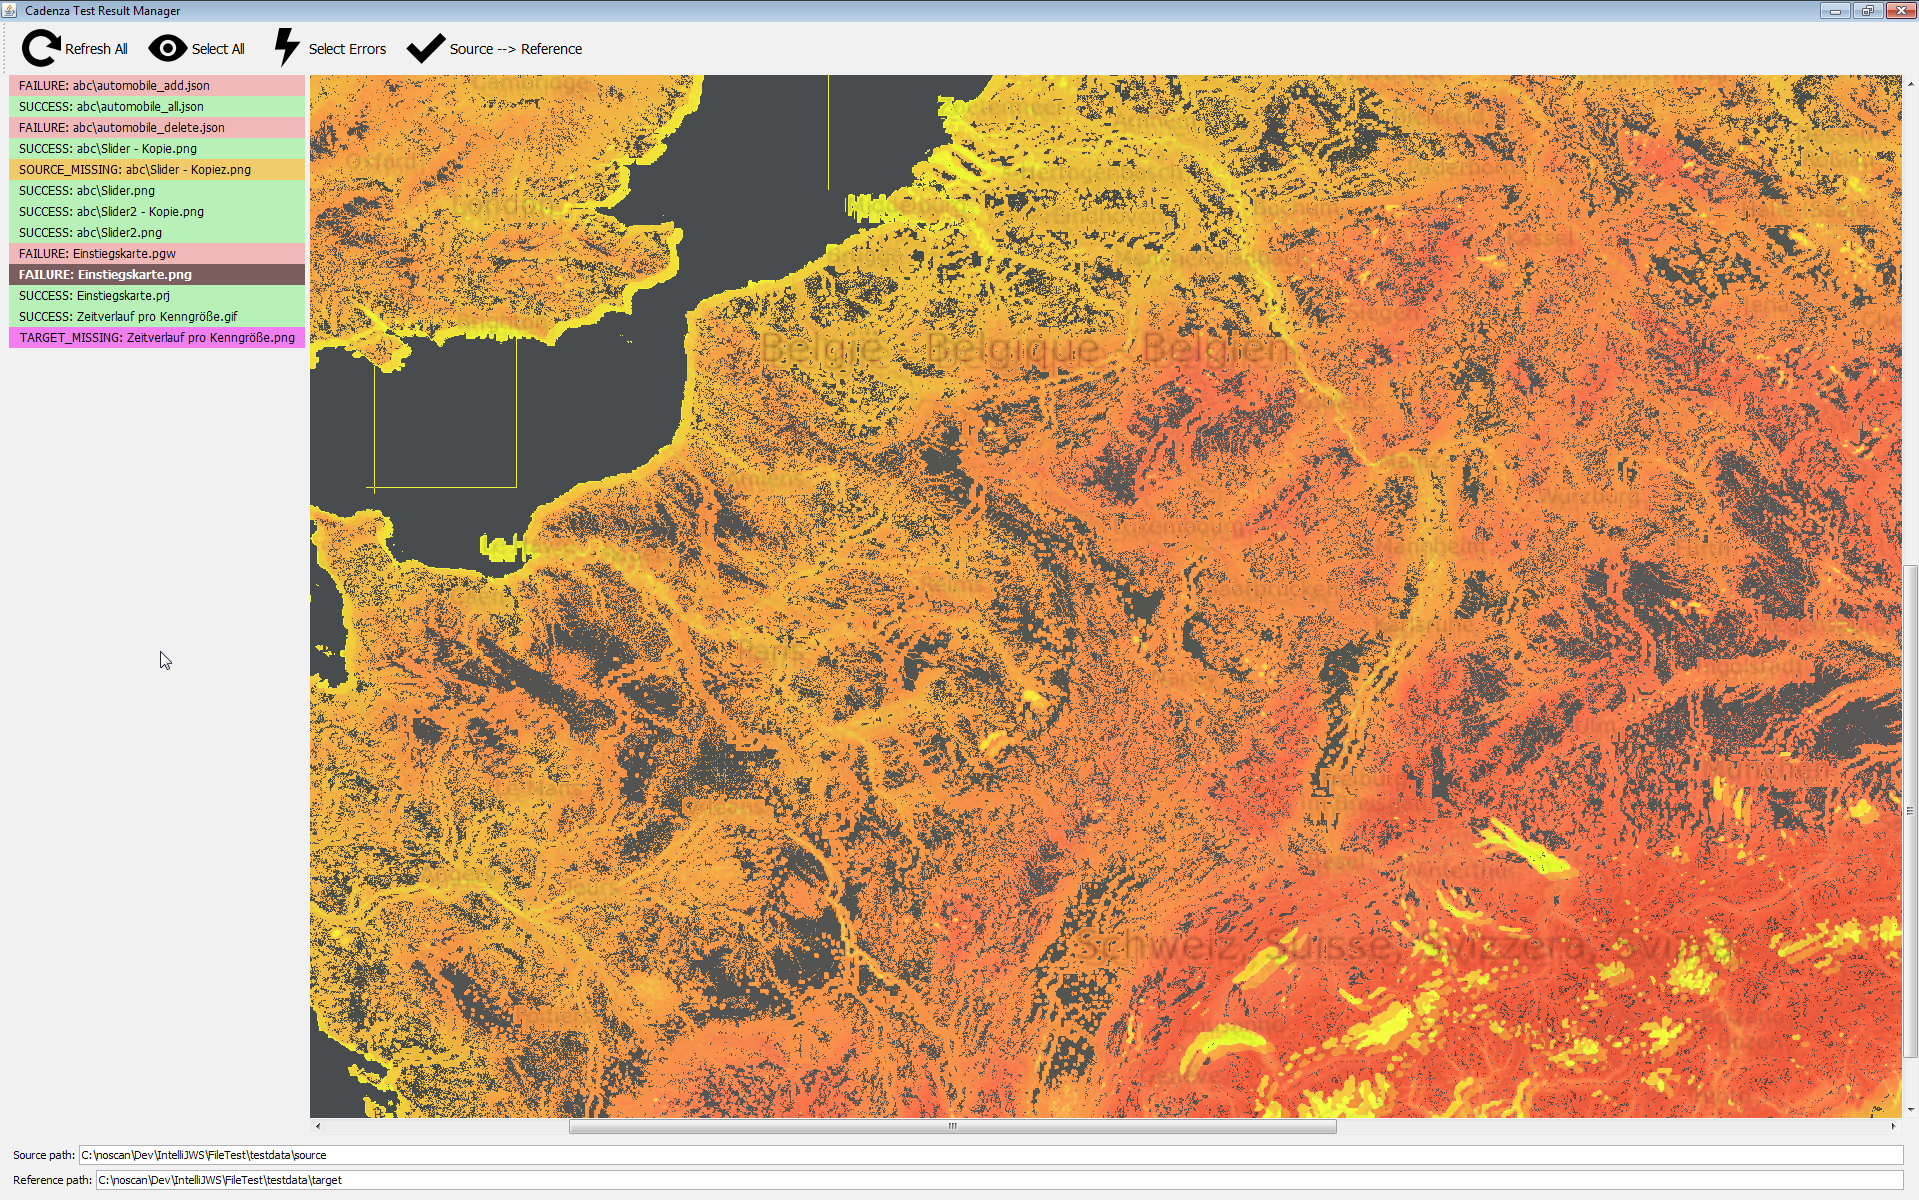
Many of our Cadenza tests can produce artifacts such as images (e.g. maps and charts), text files (such as CSV) or “binary data” such as PDFs. It is easy to write unit tests that compare these outputs with reference data to prevent the silent introduction of bugs into the program. But, if a unit test fails it is hard to know if the cause is a legitimate feature change (e.g. a rendering improvement) or a genuine bug.
We created a simple standalone tool to help with this. The tool shows the changed files, calculates the difference and allows bulk operations to “accept” the changed files as new test references.
Simply QA
It is of course crucial to validate all existing and new features before customers get a hand on our new releases. During this hackathon, we approached the question of how to improve quality assurance for our regular data and software testing.
In this context, our aim was to create a concrete guide that can be used during every QA-phase. We pretty much want every person involved in quality assurance to get an overview over how far the whole process advanced, at any time. The persons in charge can then forward the buggy features to development, so they can be fixed - and everyone can track these changes. This should be implemented using JIRA Kanban Boards with additional labeling since everyone can access it and it has to be changed in only one place.
We also wanted to properly integrate the in-house test suite for testing non-changing datasets from the databases. Furthermore, click protocols should help people create new entries in Cadenza repositories even though they might not have all the insights of a professional Cadenza user. This way, it’s easily possible to also have students help out with executing manual test cases for QA.
By using Kanban boards, test suites and click protocols we hope to make QA even easier and better understandable for all participating colleagues.
Good QA = Good Software = Happy Customer
Share Maps over Mobile Accounts
Maps for Cadenza Mobile typically consist of background layers and layers for the specific use case. Since the background layers contain the biggest amount of data, the background layers should be exported separately and added to the use case layers in the mobile app. Thereby the background data has to be exported and downloaded only once.
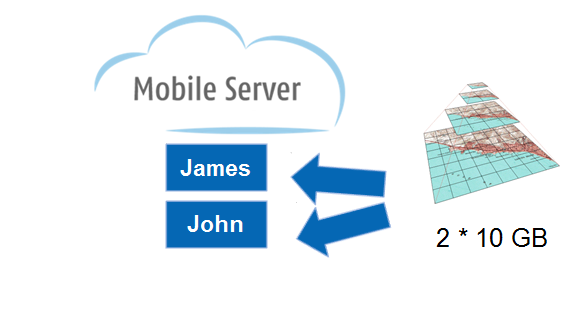
For organizations with more than one Mobile Server account, this background data has to be published to all account individually, which increase the amount of data.
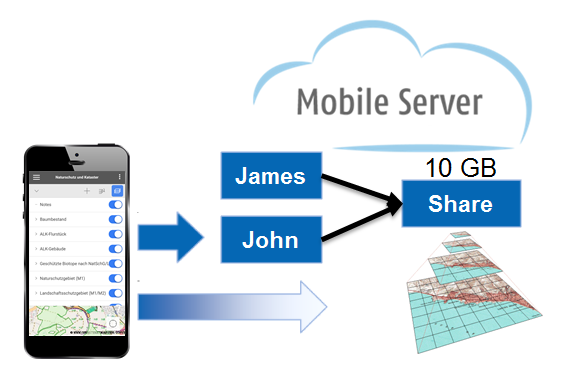
In the hackathon we tried to implement a sharing of maps between the accounts to solve this issue.
And the winner is…
Last year the price was 10 project days to properly implement the idea and integrate it into the product. What seemed like a good idea at first didn’t survive contact with reality, though, because the winning project would’ve required much more work to move past the prototype stage. Some other projects, on the other hand, were completed during Aarlaubsdays (every month’s first Wednesday, developers can work on whatever the want).
From that we learned that the one-size-fits-all prize of 10 days was too general, so this year the two victors (one prize given by the jury, the other by audience vote) won an event, where they could splurge on some team building. But who made it?
Drum roll…
… web components and OSM routing! Congratulations guys and gals! And good luck next year.


